
A strongly applauded strategy is to kick deep into the corner to trap the attacker inside their 10 close to the sideline. From here attacking options are extremely limited (eg passing open side with few attacking players back on-side) allowing defences to compress and target 1 runner.
The first carry from this position is one of the toughest in rugby league – usually 3 on 1 with a good chance of being forced into own in-goal. Defensively the goal should be for the first defender to get under the attacker’s armpits to hold him up (rather than just putting a hit on as Olam did above) with 2nd, 3rd defenders driving him back.
Teams regularly take up to 3 tackles to make 10 metres from the corner position and end up kicking from within their 30. With a decent kick return the reward for kicking to the corner is usually a set starting near the half-way line with side benefits of an easy defensive set plus low chance of conceding a try (due to poor offensive options).
Offensive Options
Once trapped in the corner sides attempt to get to a centre field position to split the defence. They should ensure that first carry is a strong runner (eg not Matt Dufty) and other attackers should assist the first runner from being driven back in-goal (I have not observed this as an active strategy – it’s more like good luck with that).
The ball should also be an ‘out-ball’ to allow you to make the most ground towards centre field. A two pass or a long pass is extremely risky if the defence is set as first contact will be much closer to the goal line.
When trying to prevent a ‘push-back’ you will often see a team mate pushing from directly behind the ball runner – this is an okay option but you are directly opposing the force of multiple defenders. Much better to either pull the ball carrier sideways (pivoting the force) or tackling your own player around the legs.
Are there any other options to get out of the corner trap?
If the defence is set I’d say no unfortunately not – just take your medicine and pat the player who takes this run on the back.
Post this first difficult hit up however I’ve observed many opportunities for expansive play instead of just another hit up towards centre field. Check out the images below (note some of the images below are from a 6th tackle turnover not a kick – so the tackle count reads 1st in those instances):
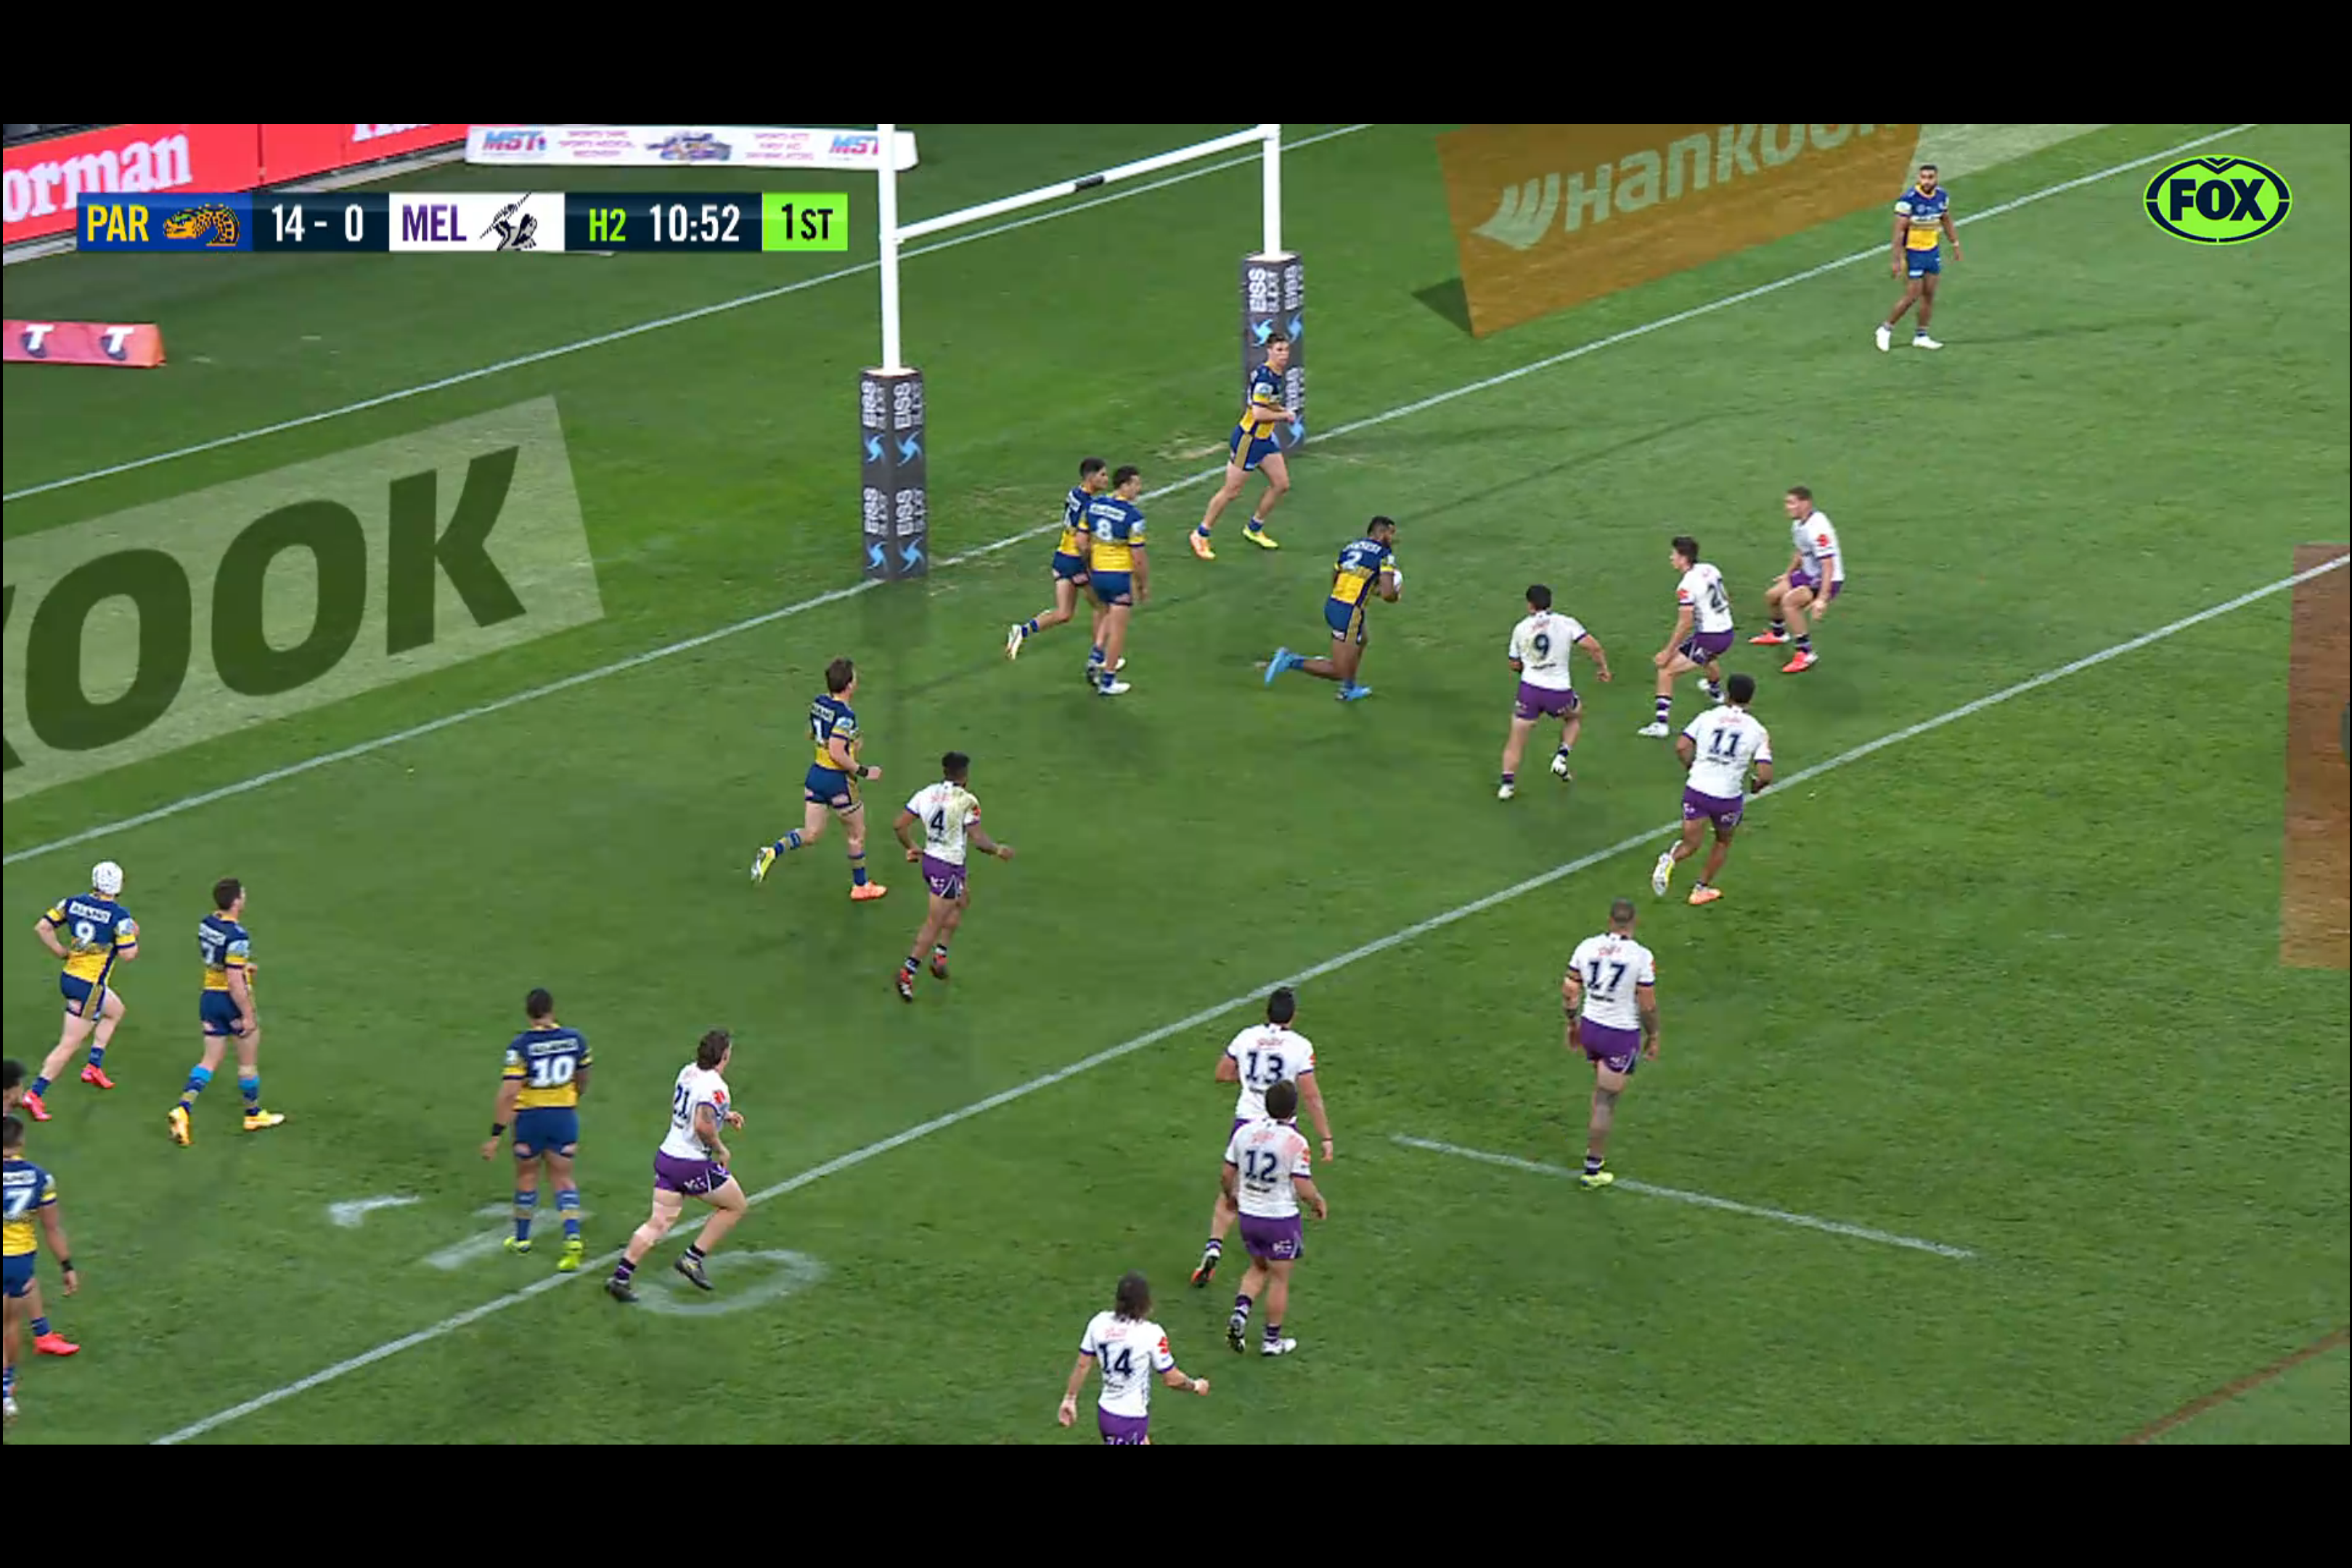
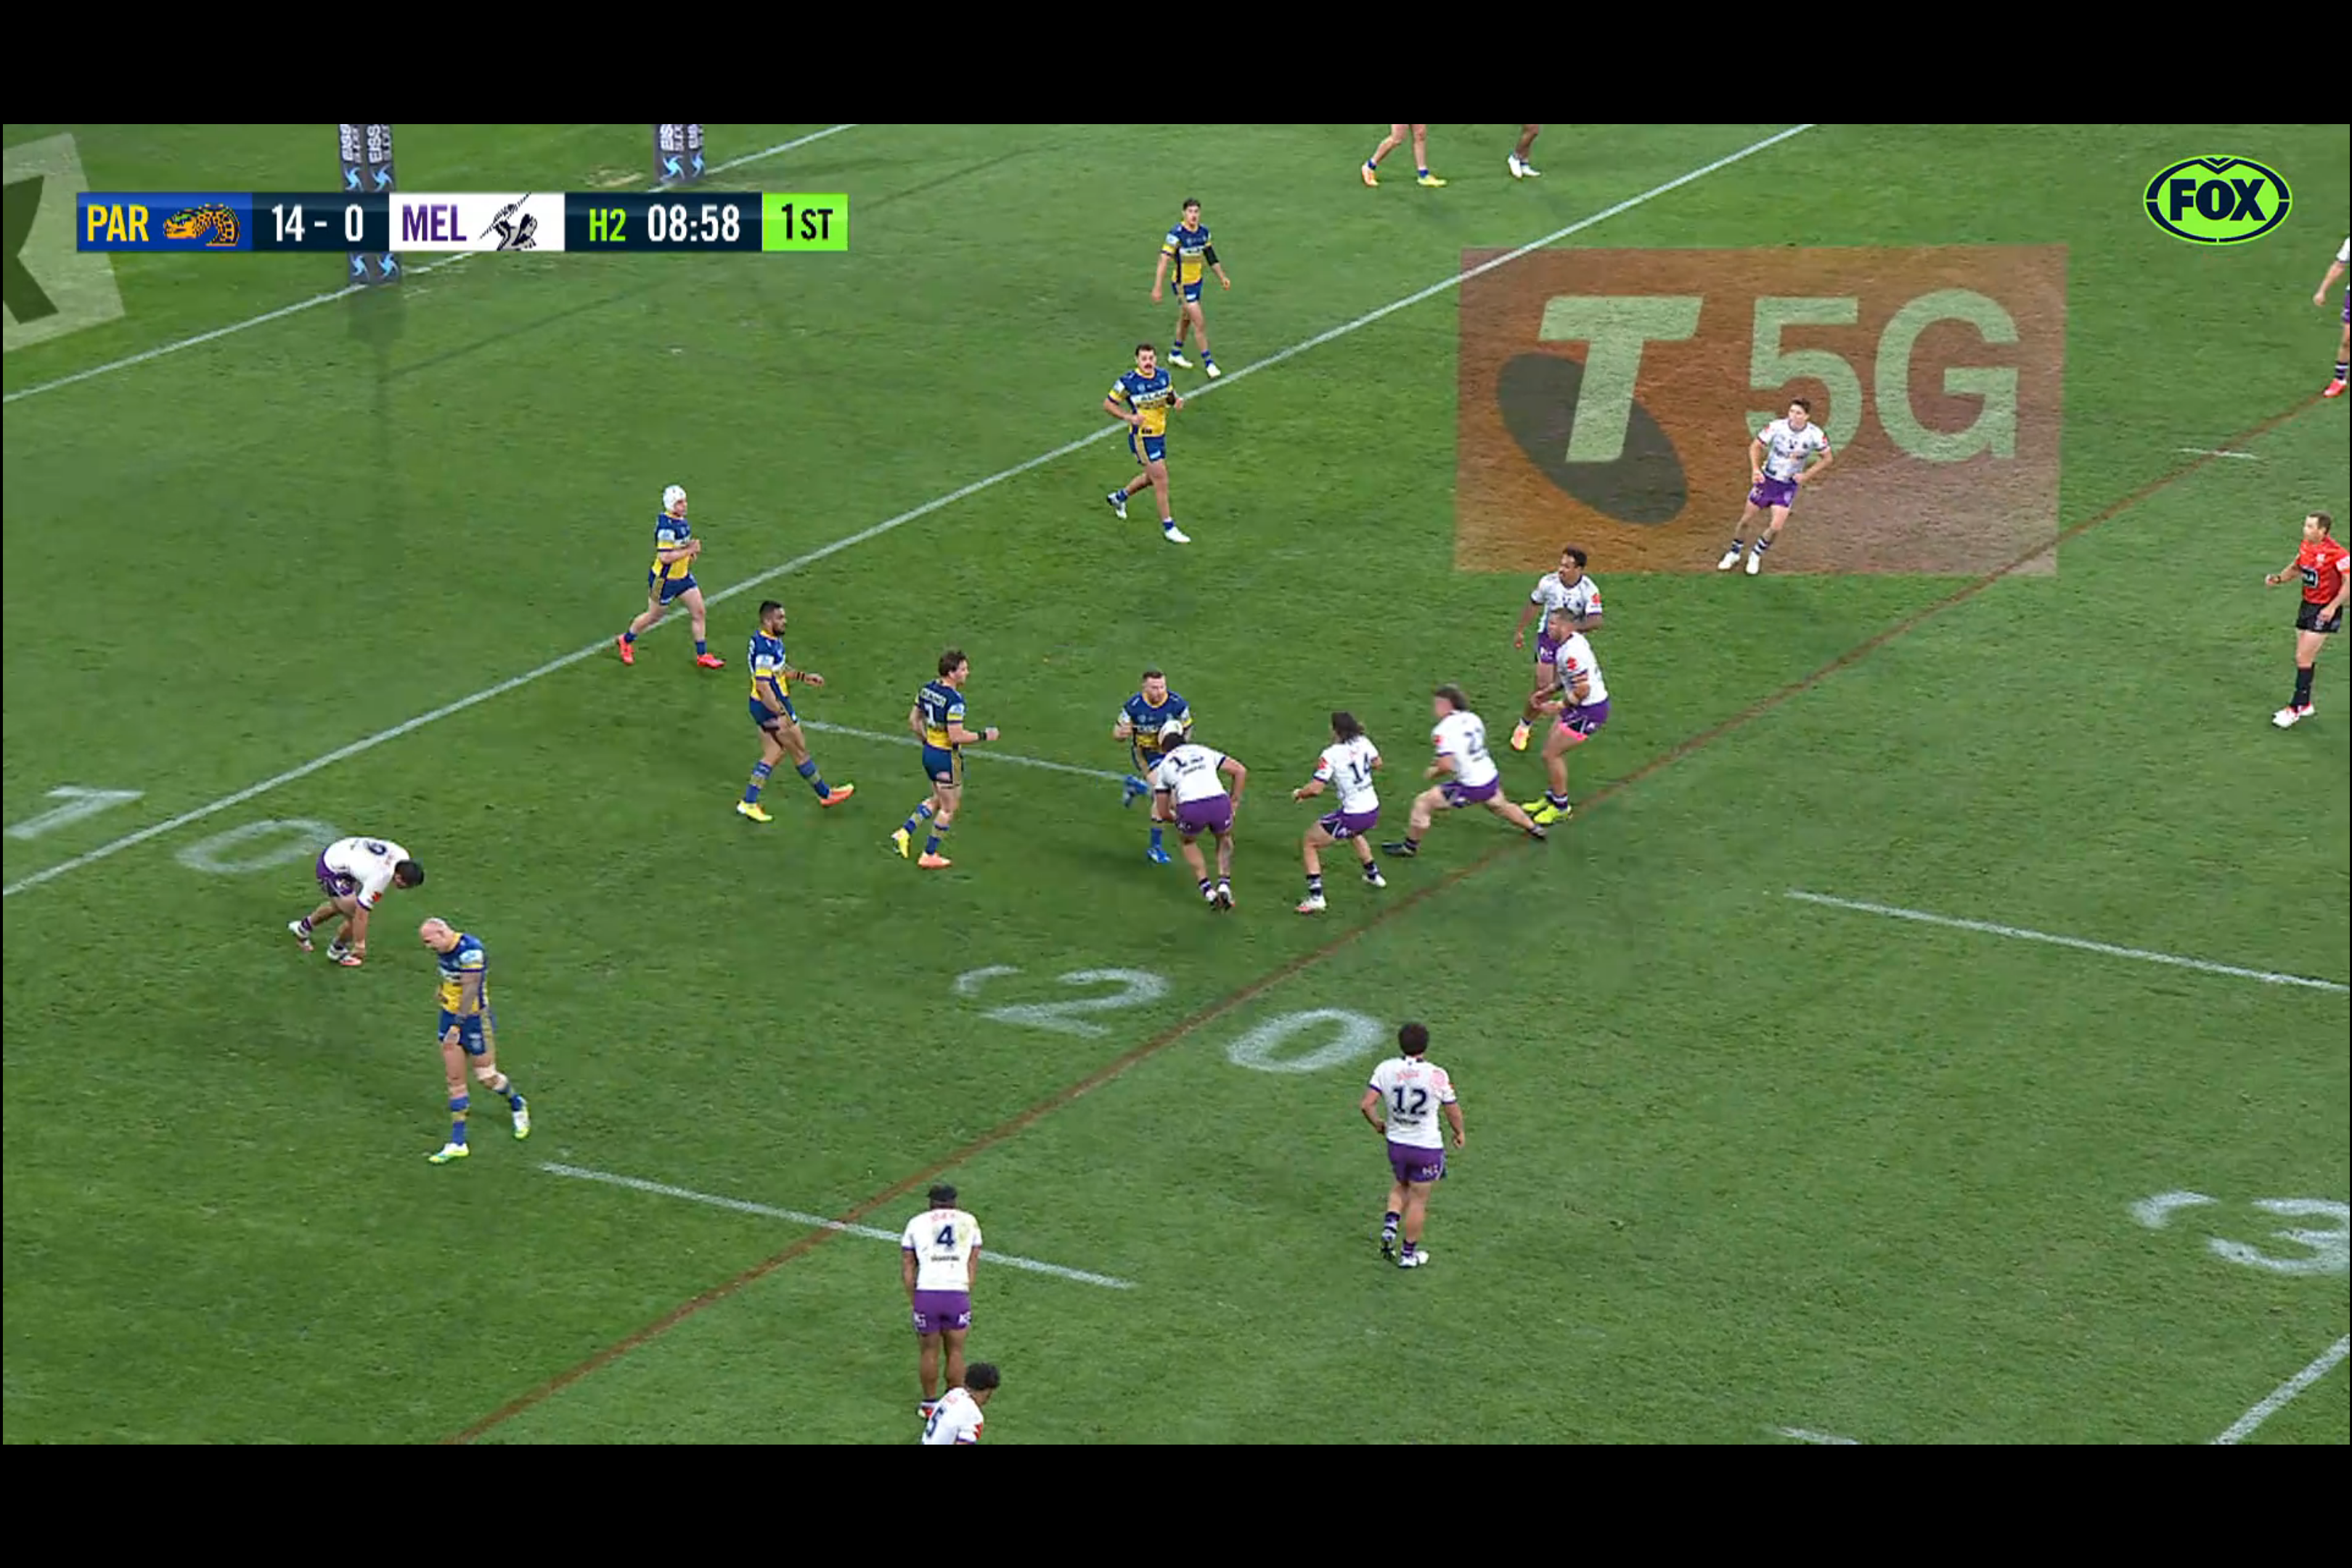
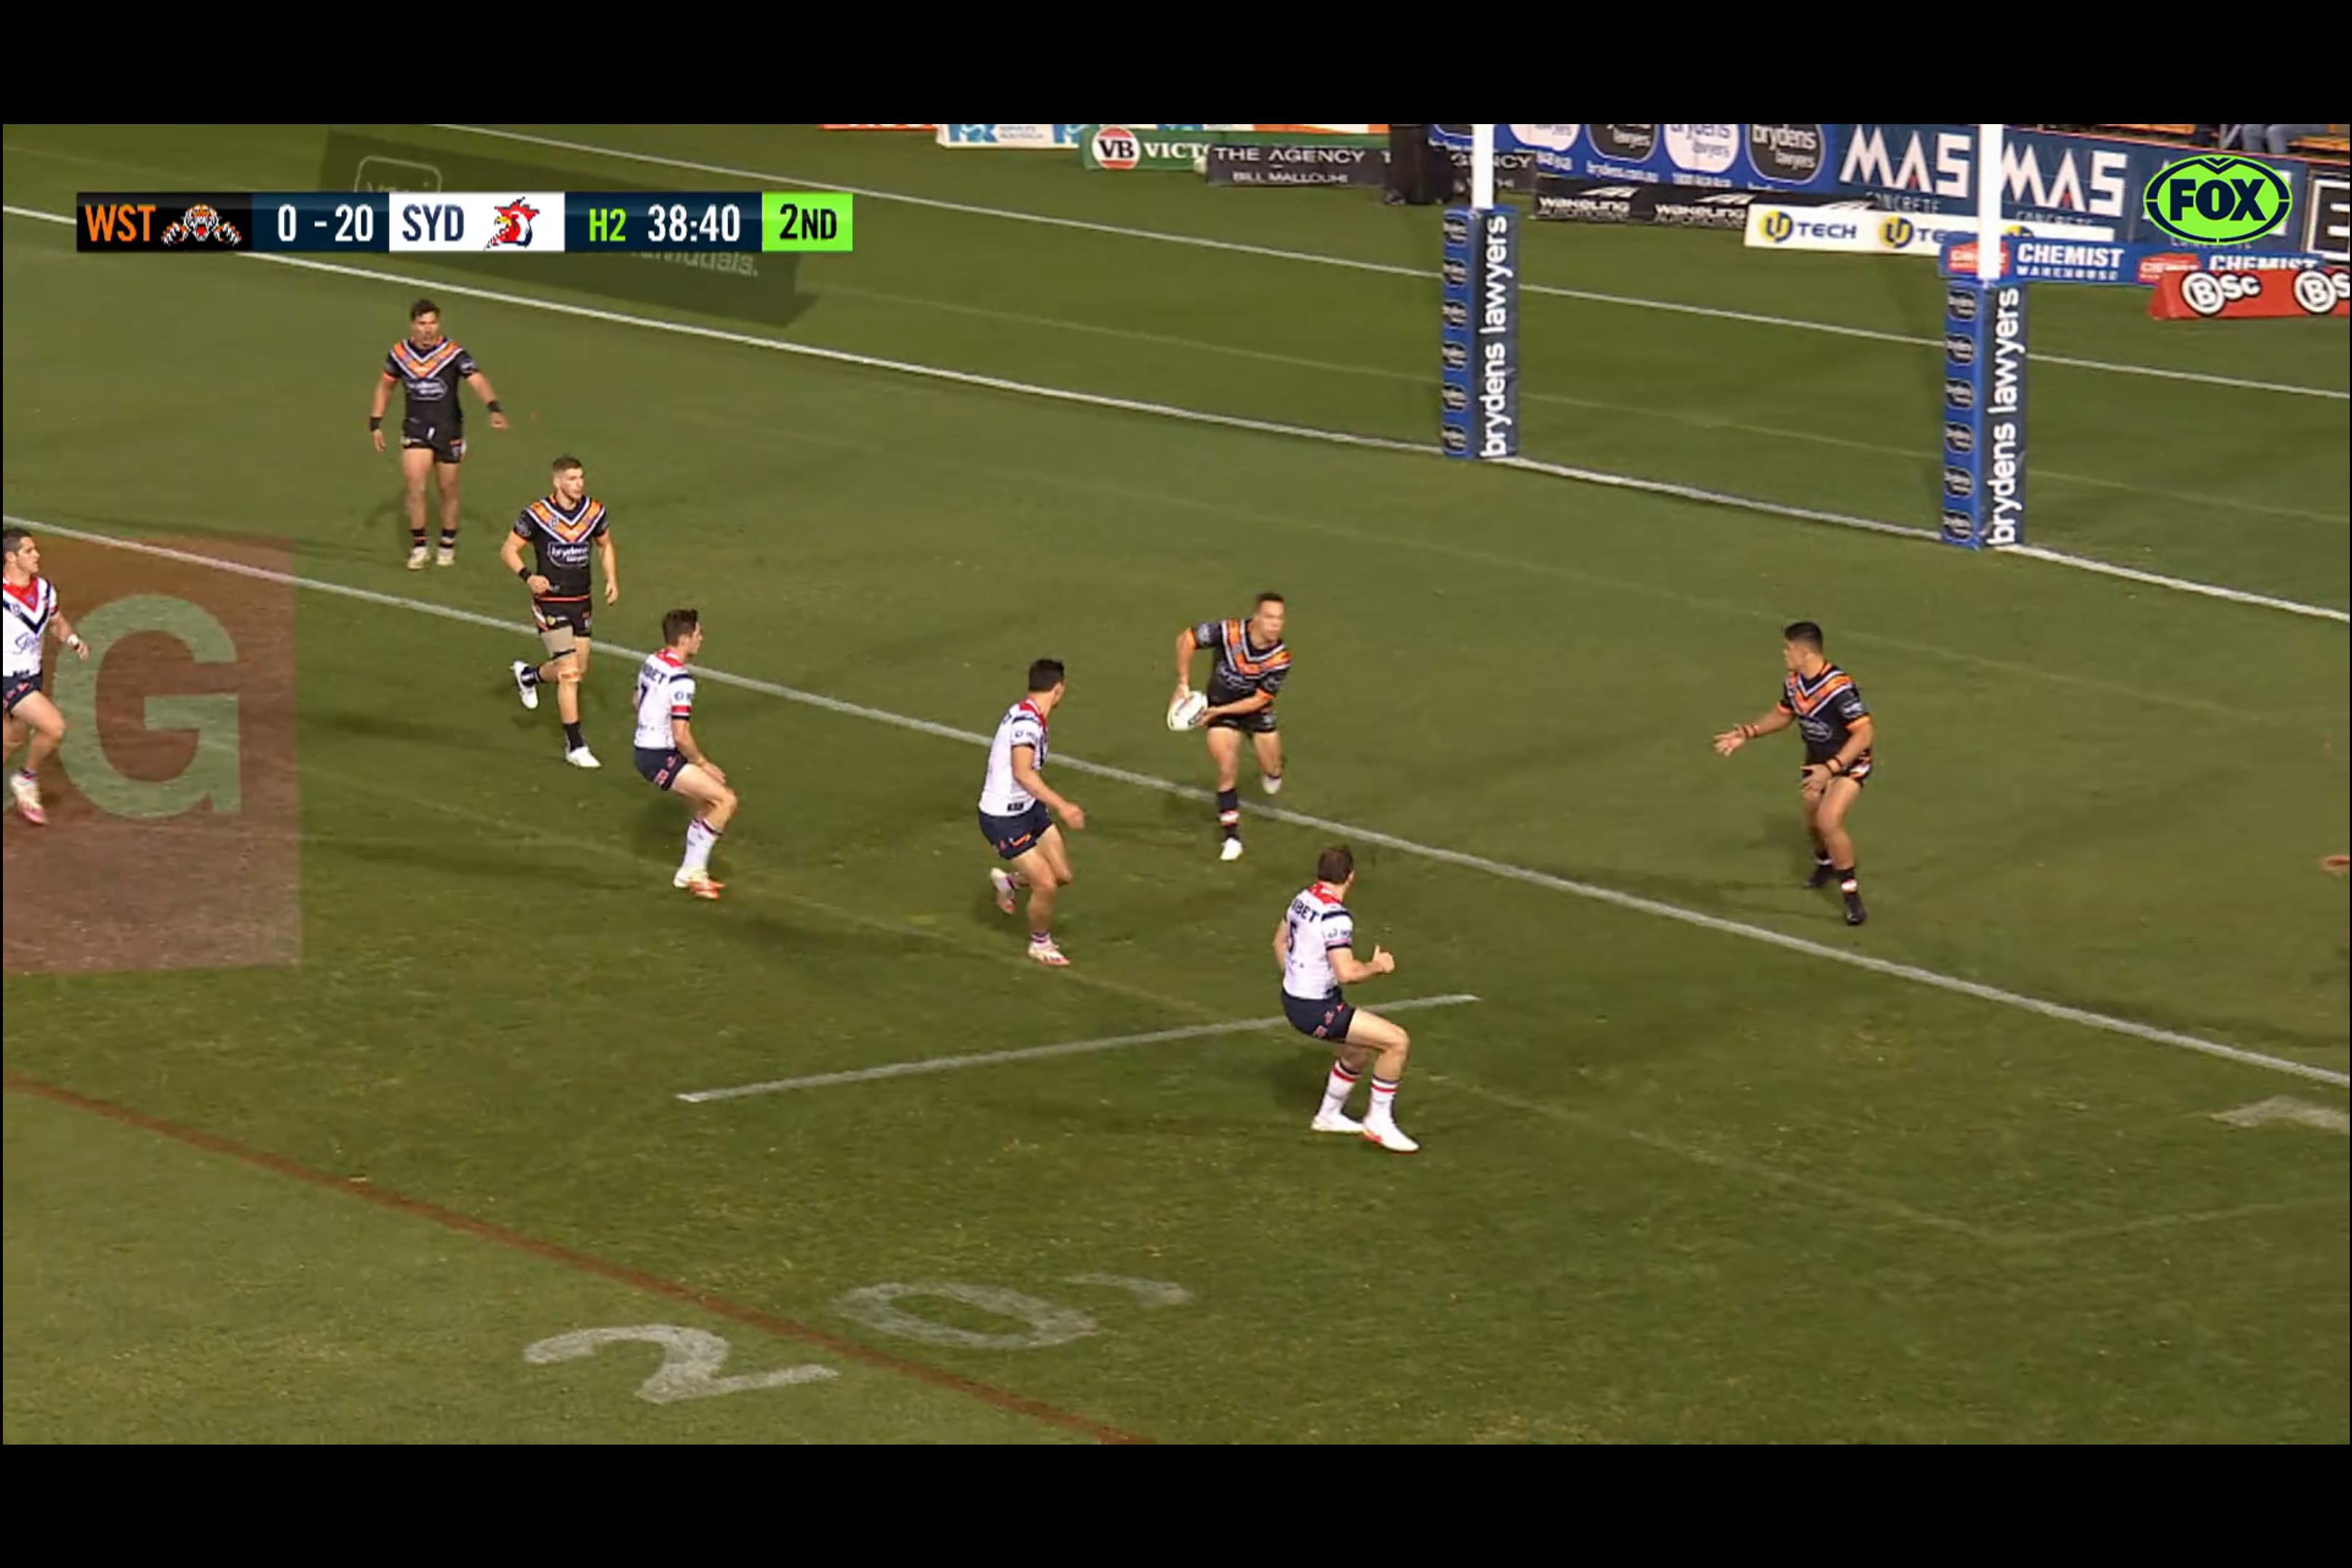


In many of the photos above you can see the defensive centre and winger covering up to half of the field as a result of the compressed defence on tackle 1! Imagine if you had that setup on the goal line – you would attack that edge for sure!
There’s a good argument for organising your attack quickly for a long shift post tackle 2. Remember the standard ruck pattern will most likely have you defending your line again on the next set anyway (I would love for the NRL to release detailed statistics on play by play X-Y field co-ordinates so I could quantify this) and a best case shift could result in a long range try.
Yes the shift might result in a dropped ball and a turnover but so does rucking it one out versus a compressed defence.
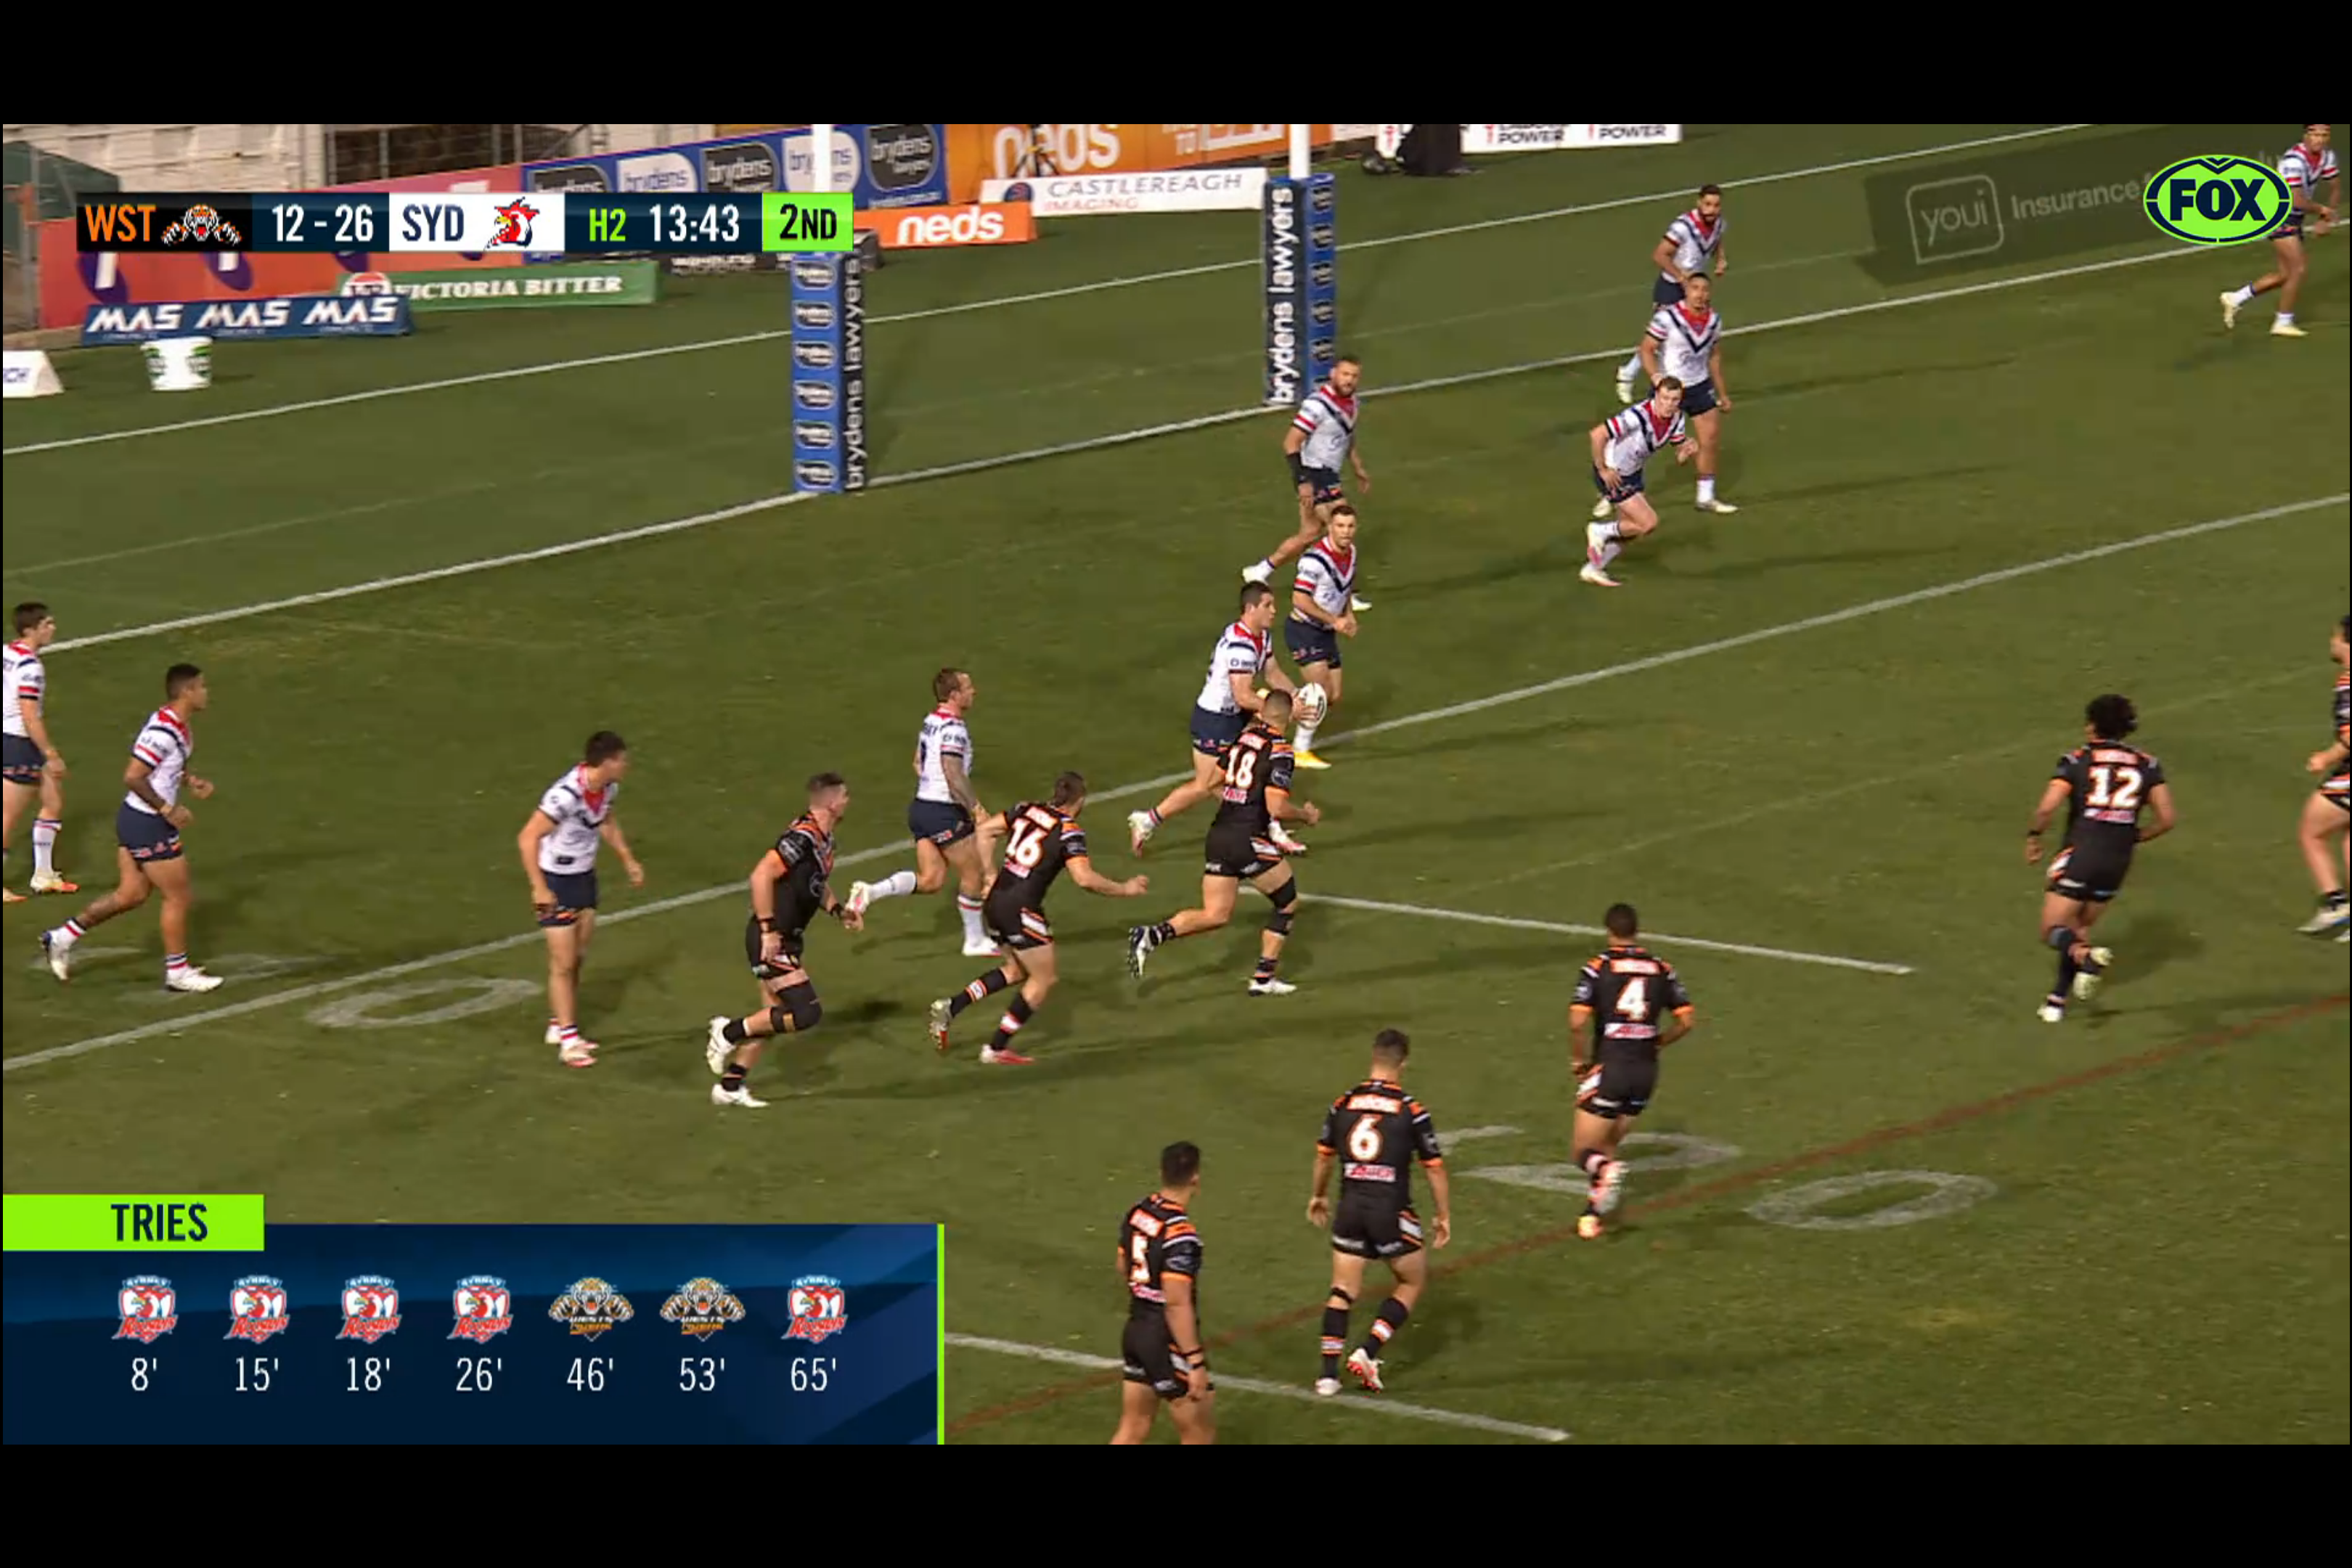
In the video below you will notice Wests try to shift with two long passes with no success.
Just shifting with no block plays or straightening up allows the defence to slide comfortably. This does not mean shifting is a poor strategy just that it requires organisation and ‘shape’.
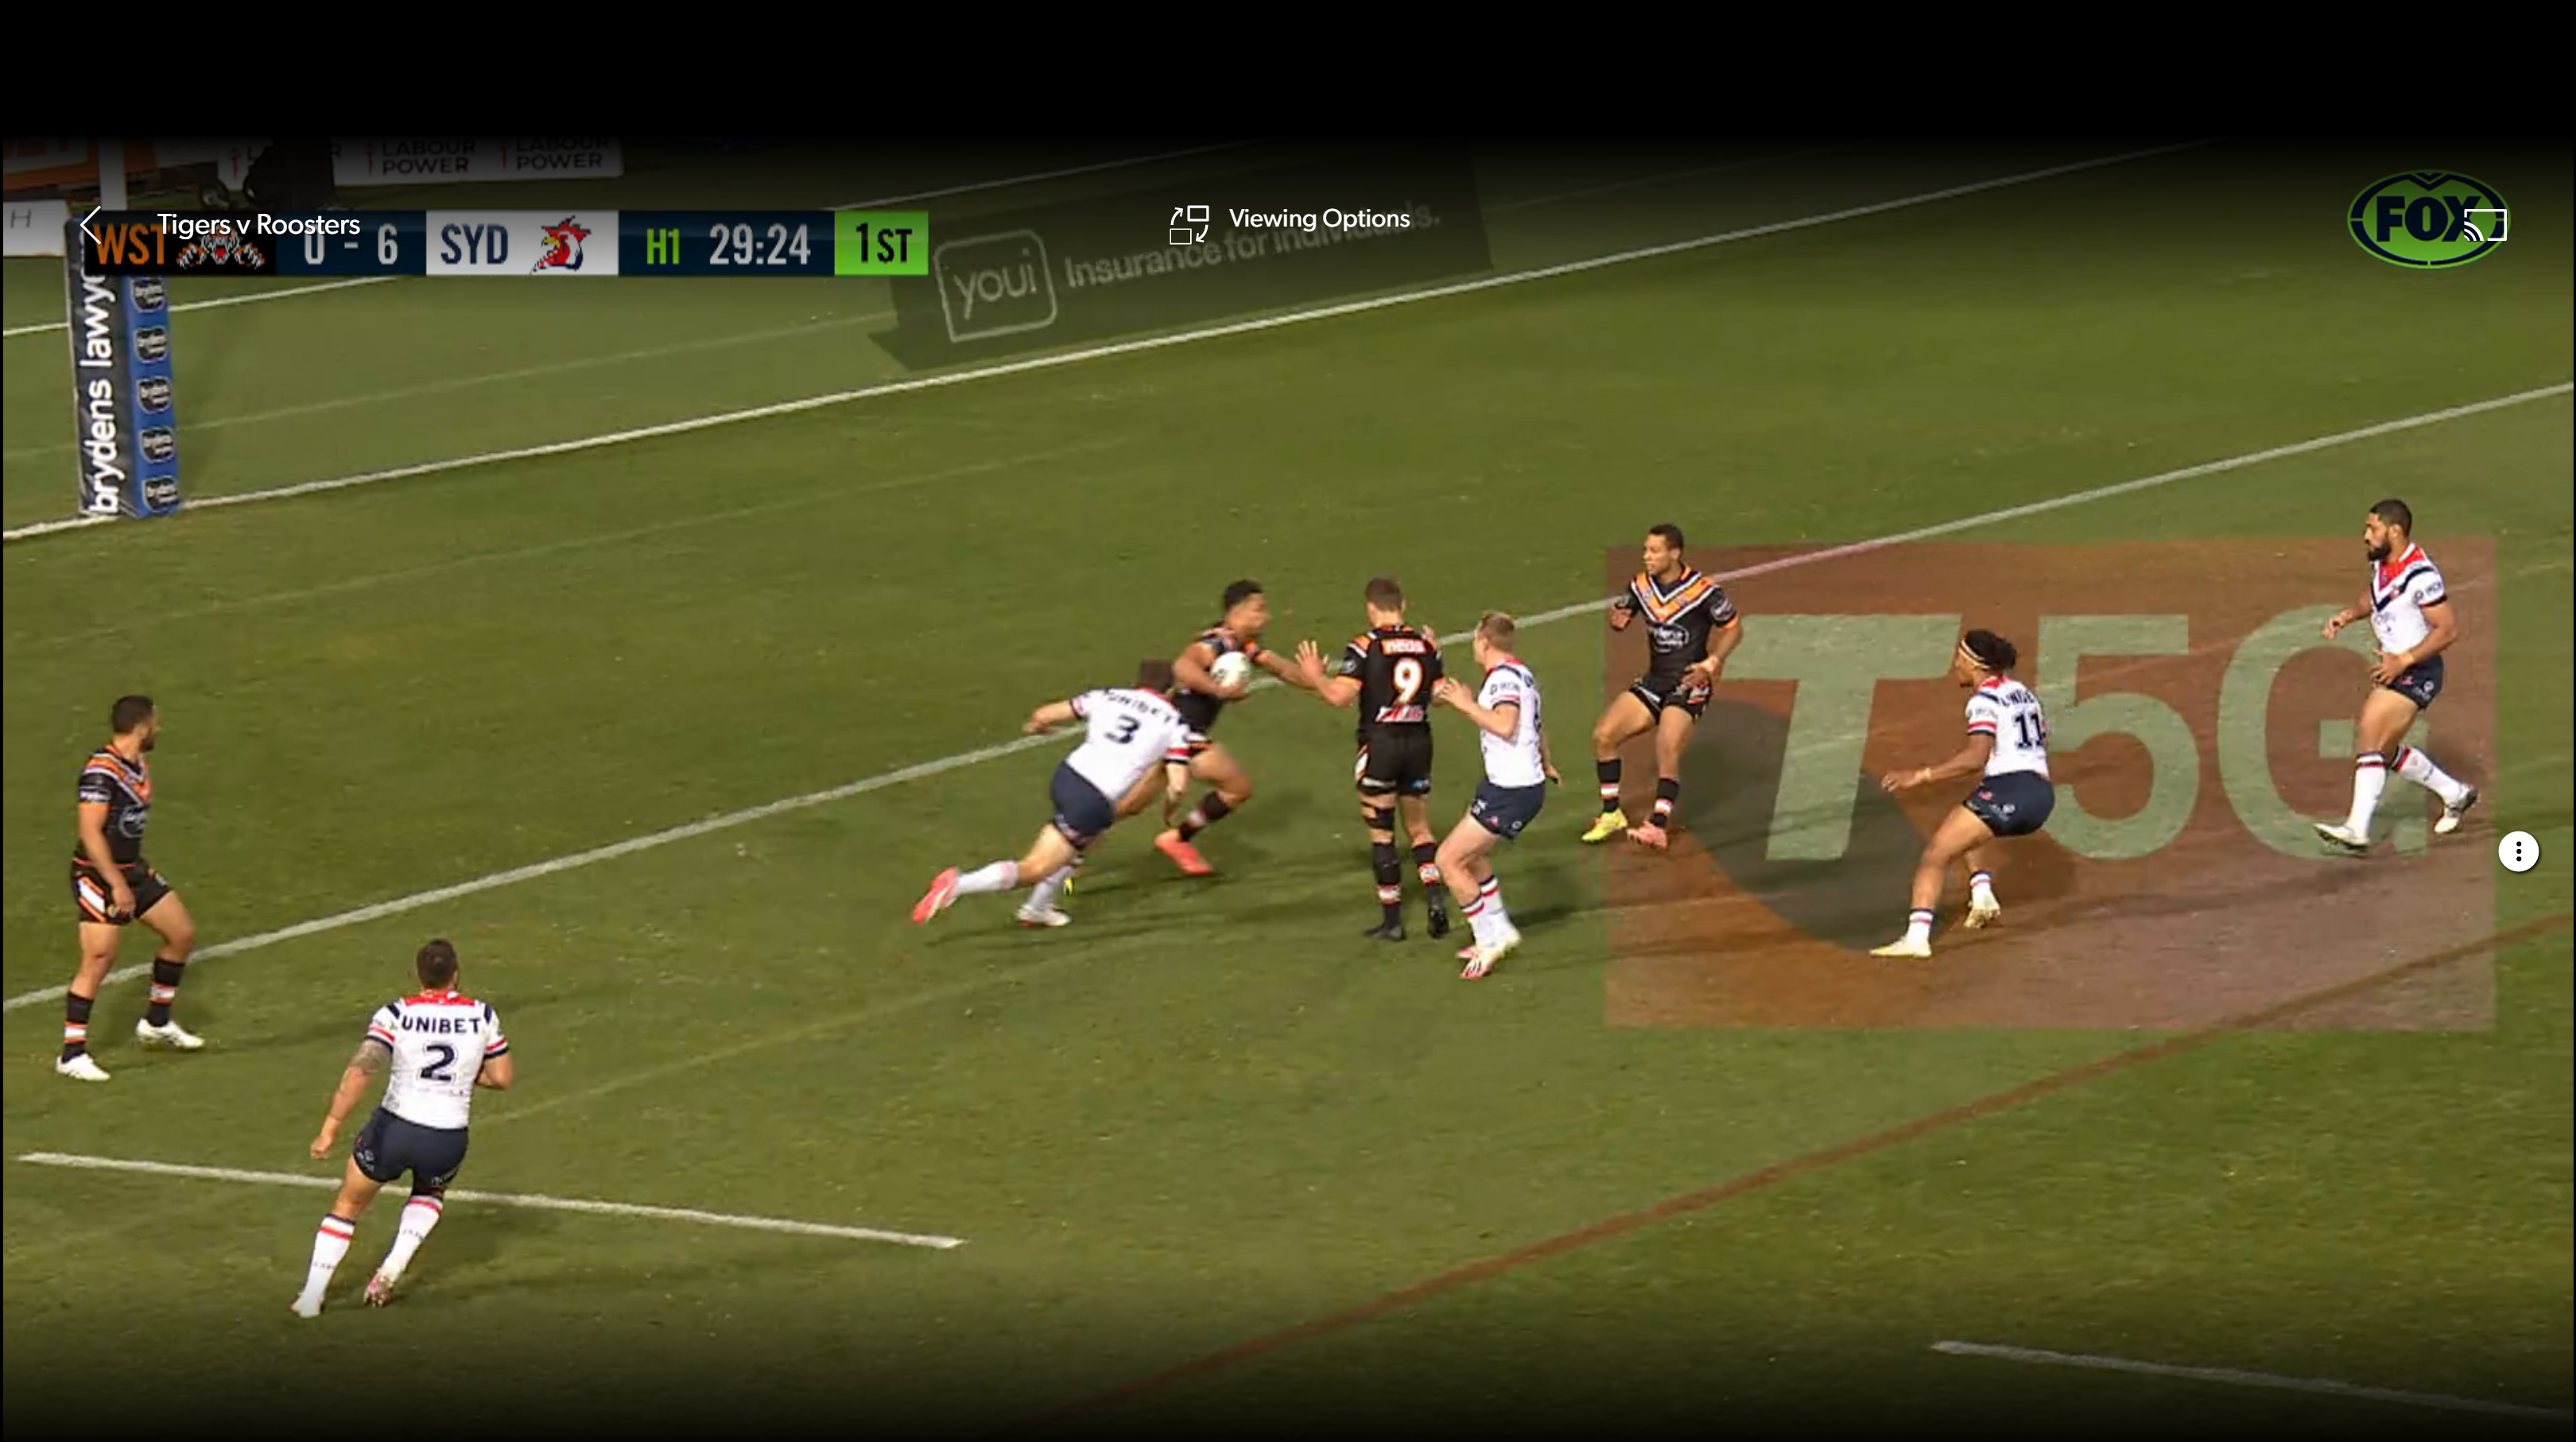
Notice the difference when Wests are organised with shape and shift on the very next play.
Summary
There are opportunities to counter a good attacking kick (or change of possession) in the corner if a team is organised and willing to shift post tackle 2. In my opinion the extra work to get into a decent attacking shape post tackle 2 is worth it.
The upside is more metres gained (maybe even a try), defences responding with less compression (can revert back to a one out carry), greater attacking options on subsequent tackles and more work for the opposition. Compare this to the usual outcome of a defensive set starting around 60 metres from your own line (my estimate based on 40m kick from 30 returned 10m – not supported with actual data).
Tackle 1 offensive options are limited but I have not observed much development in the way of strategies to prevent a ‘push-back’ into the in-goal (such as a trailing close-by attacker to assist) which I believe is a real risk worth mitigating.
I do understand possession transitions are a key ‘rest’ period for forwards but I think the upside from tackle 2 shifts is worth investigating – perhaps even just utilising the backs and 1-2 forward(s).
Note I have some ideas for tackle 1 attack as well as non-standard tackle 2 attacking shapes which I will write about in following posts.
